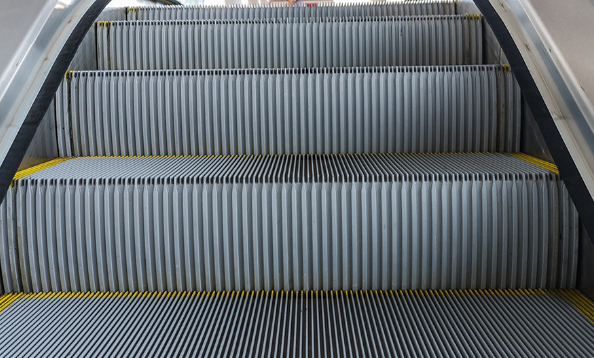
Sealing Gaps With Strip Brush: The Ultimate Guide To Maximizing Your Efficiency
It’s important to maximize efficiency in your working environment, and one way to do that is by sealing gaps with the help of strip brushes. In this article, we’ll go over how strip brushes can be used to seal gaps, their benefits, and how to find the right ones for different cuts. So whether you’re looking for an easy way to save time or just want a more efficient workflow, read on to learn more about strip brushes!
Sealing gaps with strip brushes are a great way to maximize your efficiency when working on any project. In this article, you will find out how the high density of bristles in strip brushes can create a wiper-like effect on soft surfaces and allow for a better seal. We also provide you with an overview of the different cuts and sizes of strip brushes that are available to suit your needs.
Introduction to Strip Brush

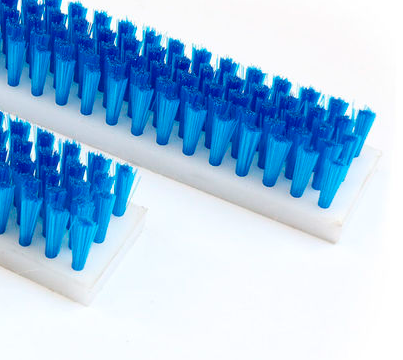
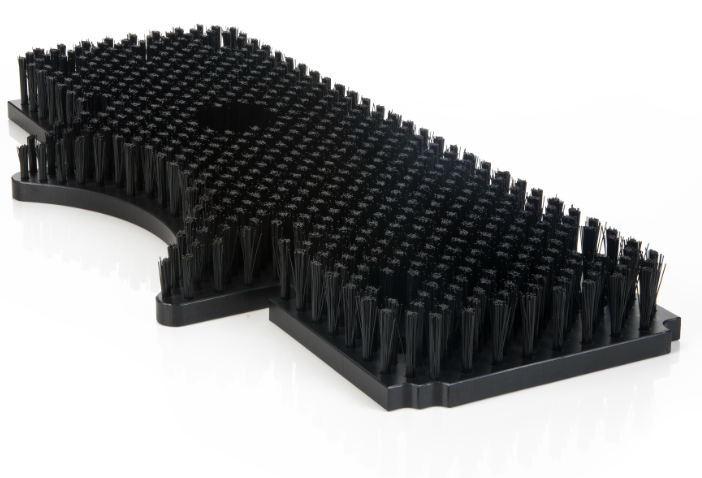
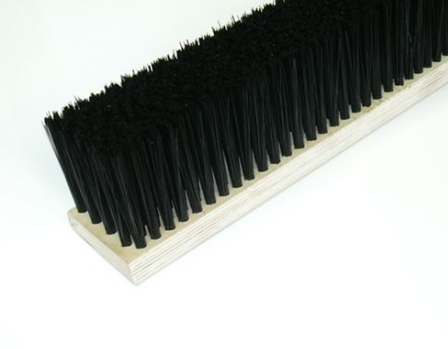
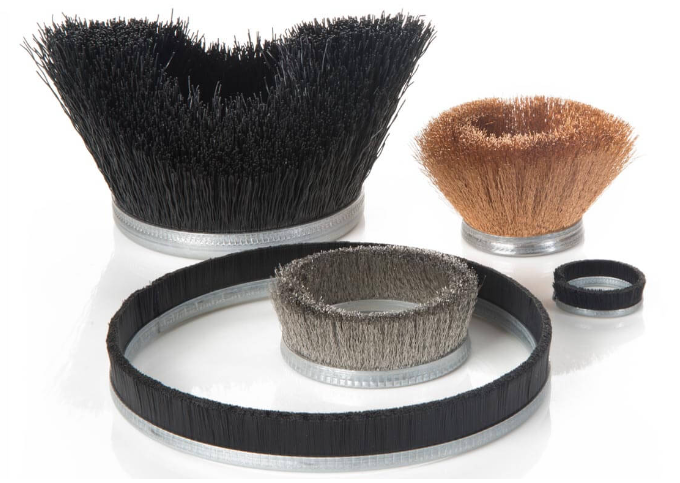
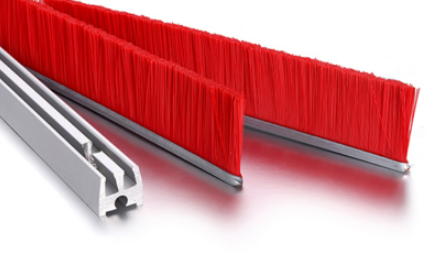
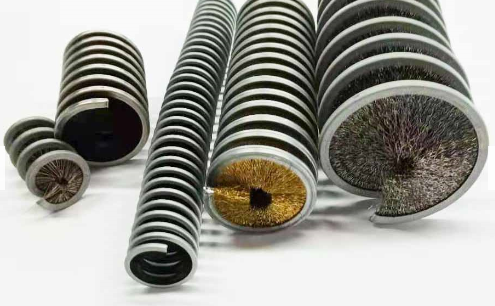
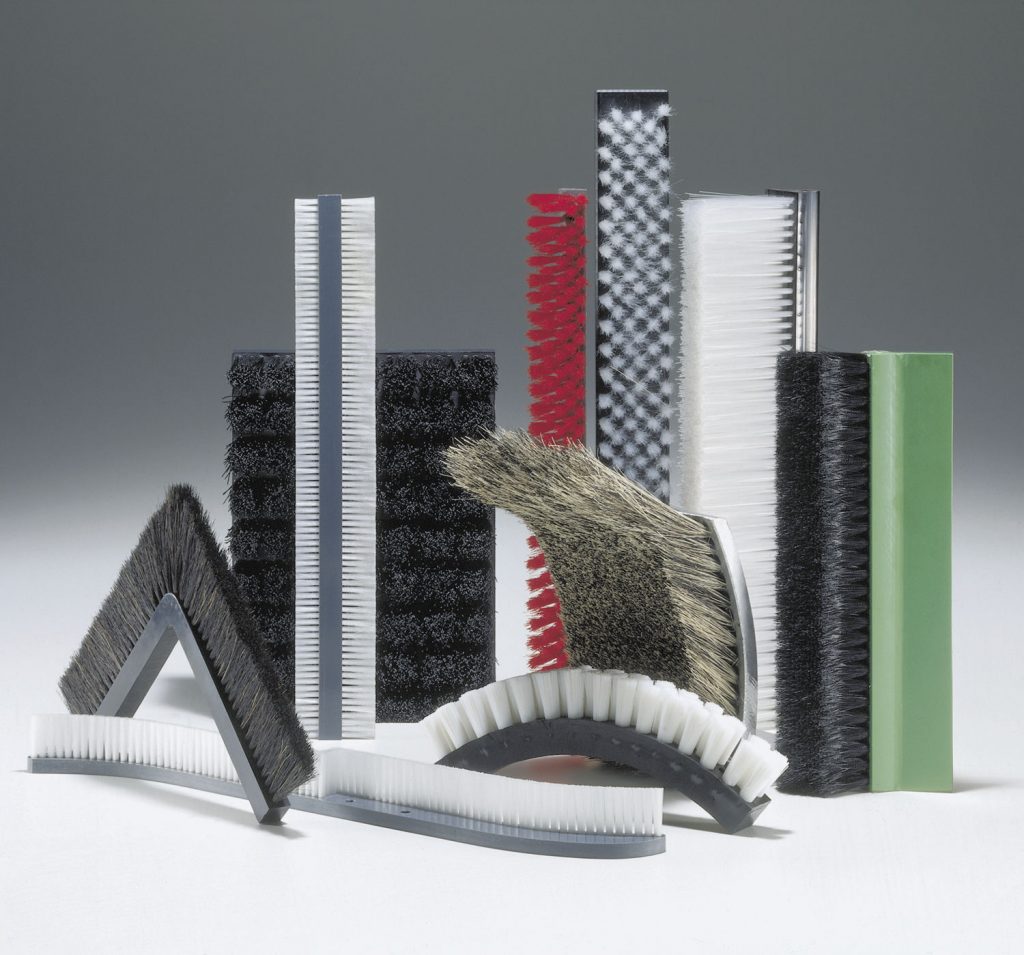
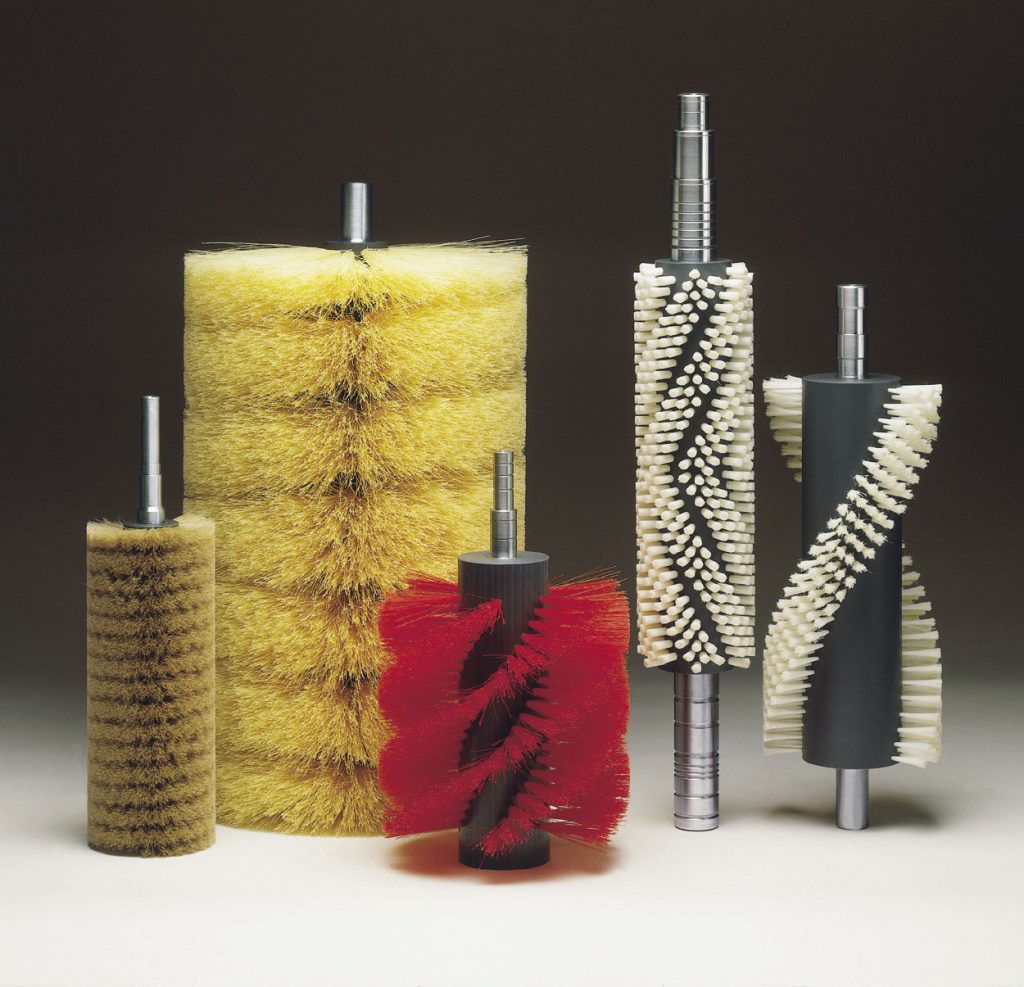
A strip brush is a type of brush made up of bristles that are attached to a strip of metal or plastic. The bristles can be made of different materials, such as nylon, polyester, or natural fibers. Strip brushes are used in a variety of applications, including sealing gaps, cleaning surfaces, and polishing metals.
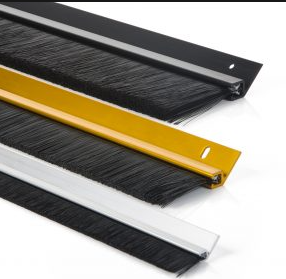
When choosing a strip brush for your application, it is important to consider the type of material you will be using it on, the size of the gap you need to seal, and the amount of pressure you will be applying. Strip brushes are available in a variety of sizes and shapes to fit your specific needs.
Types of Strip Brushes
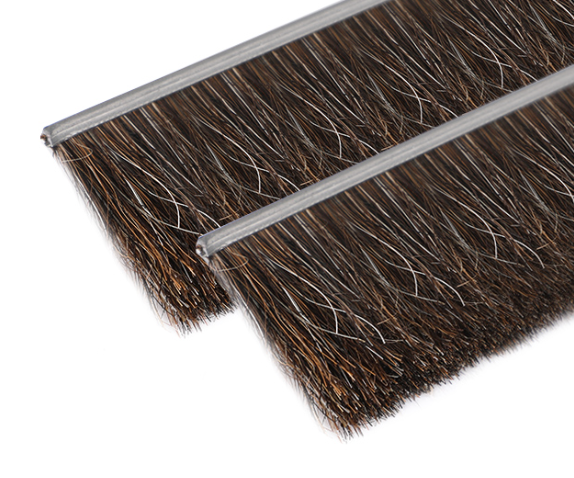
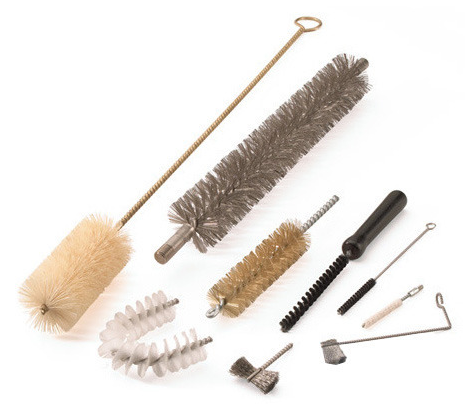
There are two main types of strip brushes: natural bristle and synthetic. Natural bristle brushes are made with animal hair, while synthetic brushes are made with man-made materials.
Both types of brushes have their own advantages and disadvantages. Natural bristle brushes are better at holding paint, but they can be more expensive. Synthetic brushes are cheaper, but they don’t hold paint as well.
So, which type of brush is best for you? It depends on your needs. If you’re looking for a brush that will hold a lot of paint, then a natural bristle brush is probably a better option. If you’re looking for a cheaper brush, then a synthetic brush is probably the way to go.
Benefits of Using Strip Brushes to Seal Gaps
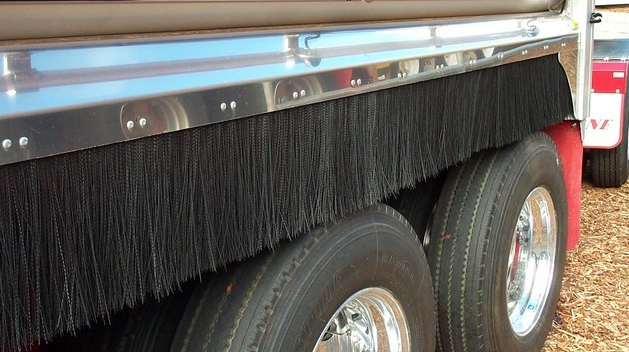
One of the most important functions of a strip brush is to seal gaps and prevent debris, dust, and other contaminants from entering a space. By using a strip brush to seal a gap, you can create a physical barrier that will keep your environment clean and safe.
There are many benefits to using strip brushes to seal gaps, including:
How to Install and Maintain a Strip Brush
Installing and maintaining a strip brush is relatively simple. First, you’ll need to determine the correct size of brush for your particular application. Once you’ve done that, follow these steps:
- Cut the bristles to length with a sharp knife or scissors.
- Measure and mark the center of the bristles on one end.
- Drill a hole at the center mark, slightly smaller than the diameter of the screw you’ll be using to attach the brush to your desired surface.
- Insert the screw into the hole and tighten until snug. Be careful not to overtighten, as this could damage the bristles.
- Trim any excess bristle length, if desired.
To maintain your strip brush, simply sweep or vacuum it regularly to remove any debris that has accumulated on the bristles. You may also need to trim the bristles from time to time to keep them neat and tidy.
Different Sizing Options for Different Gap Widths
Different sized strip brushes are available to seal different widths of gaps. The most common sizes are 3/8″, 1/2″, 5/8″, and 3/4″.

Conclusion
As you can see, strip brushes provide a cost-effective and efficient way to fill gaps between different surfaces. Not only do they create an effective seal that keeps dust, dirt, insects, and other debris out of your facility or home but they also limit energy loss from air infiltration. With the tips provided in this guide on sealing gaps with strip brushes, we hope you have all the information needed to maximize your efficiency when using them for any given application.
Strip Brush Related Article
Related Brush Products
Read More Strip Brush